Episode #6 - Acessing the universe in a single page with related data

Welcome back, Low Coders! Last time on Mastering low code app development, we built relationships between our objects to be able to show that a particular part related to a particular aircraft, as well as relating the aircraft to a particular account and job through the Fleet object. This episode, we will work through how to display this information in a separate tab on your pages (which we built way back in episode two). By adding this data to the related object’s page, you’re giving your users the information they want and need without having to hunt for it — yay you!
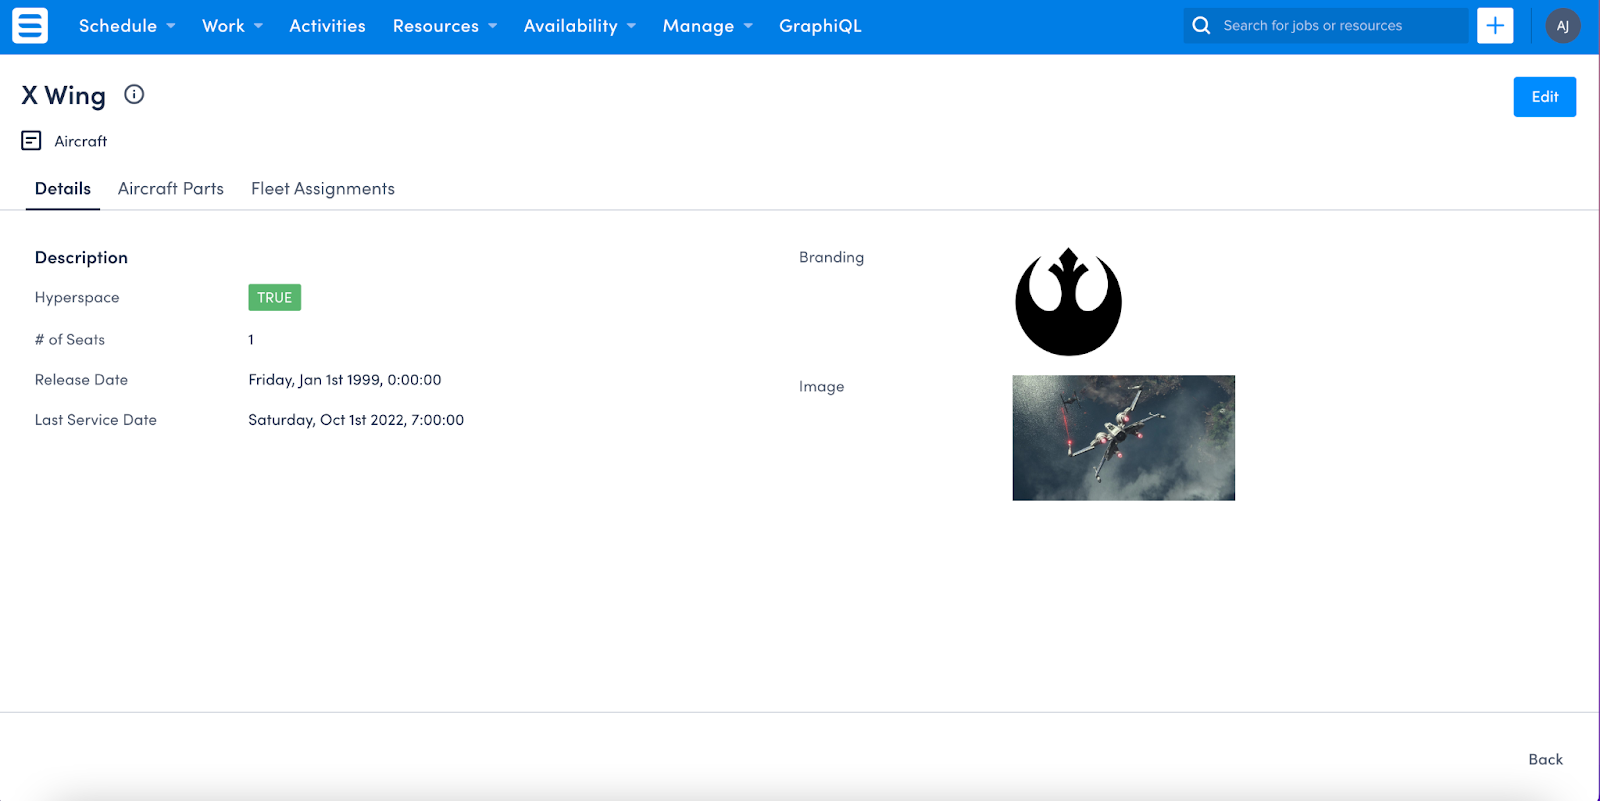
After following along with episode two, my View page for the aircraft object currently looks like this:

All the information about the aircraft itself is stored on this page. I want to add a new tab to this page for all the parts that belong to this aircraft, and another tab that shows which accounts have this aircraft in their fleet. This allows our users to see which parts are required for this specific aircraft, as well as which of our customers have this aircraft as part of their fleet — all the information they need at their fingertips!
Using our favorite documentation to walk us through this, we can see that adding tabs to the page is pretty straight forward. We simply add the following code snippet to the top of the %block body% section, which establishes the tabs within the page:
    <sp-tabs selected="{{_.queryParams.selectedtab}}">
      <platform-component package-name="nav" name="ReflectiveTabs" search-param="selectedtab"
      tabs="{{ [
        {"name":"details","label":"Details"},
        {"name":"aircraft-parts","label":"Aircraft Parts"},
        {"name":"fleet-assignments","label":"Fleet Assignments"}
      ] |dump}}">
    </platform-component>
It’s important to close out the tab sections in the page template as well, so below the last section of our body block, we add the following code snippet to close off the Details tab panel:
   </sp-responsive-columns>
    </sp-tab-panel>
We also need to add in the tabs for Parts and Fleet Assignment, which we can do by pasting the following code snippet below where we closed out the details panel, but before the end of the block body section. This is what defines what happens on each of the tabs themselves!
   <sp-tab-panel name="aircraft-parts">
    </sp-tab-panel>
    <sp-tab-panel name="fleet-assignments">
    </sp-tab-panel>
    </sp-tabs>
Once we save and refresh the View page, we can now see:
Brilliant! However, my Parts and Fleet Assignment panels are blank. So, it’s back to our trusty documentation where we can see that adding the information is yet another copy-paste-update — which we love!
    <sp-tab-panel name="aircraft-parts">
      <div>
        <platform-component
        package-name="recordpage"
        name="RecordTemplate"
        template=" {{ '{% if UID %}
        <platform-eventbus-scope closed>
        <platform-component
          package-name="listview"
          name="RelatedListView"
          resource-name="aircraft Parts"
          foreign-key="aircraftId"
          foreign-key-value="{{UID}}">
        </platform-component>
        </platform-eventbus-scope>
        {% endif %}'}}" >
        </platform-component>
      </div>
    </sp-tab-panel>
🌟Handy hint! The resource-name element needs to be set as the Object Label, not the Object Name. In my example above, there is a space between aircraft and parts — this is because my Object Label is Aircraft Parts, while the Object Name is aircraftParts.
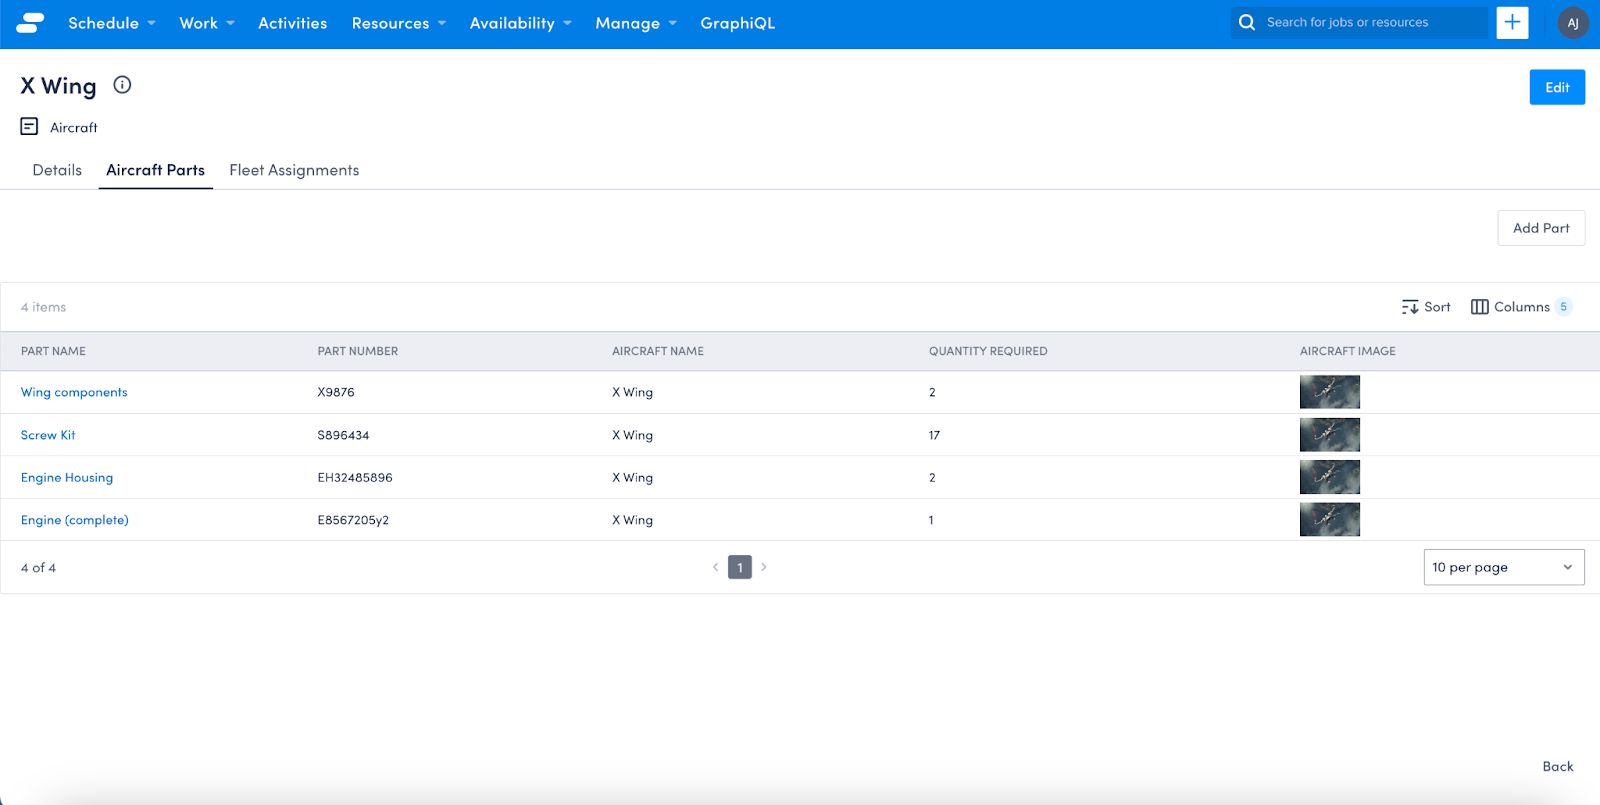
When I refresh my View page and jump over to the Aircraft Parts tab, I now see my related list — success!! My list could do with a bit of zhooshing up, so back to making my list view pretty using this post. I add the image of the aircraft to the list view, and hyperlink the Part Name, rather than displaying the UID of the aircraft Part. You could also add an image of the part itself to help out your users!

You can add the ability for your users to add parts from the related list using the below code snippet
    <sp-tab-panel name="aircraft-parts">
    <sp-split-row>
    <div slot = "right" style="text-align: right;">
    <sp-header style="margin-bottom: 0">
    <platform-component package-name="recordpage" name="RecordTemplate" template="{{ '<a href="/platform/page/aircraft-parts-create"> <sp-button button-type="secondary">Add Part</sp-button>' }}"></platform-component>
    </sp-header>
    </div>
    </sp-split-row>
Adding this code snippet gives you the fancy button on the right of the list view:
In episode 8 we will cover off how to pre-populate data which will make your users sing your praises as the time-saving hero that you are!
Now to update my Fleet Assignments using the same code snippet (just changing from Aircraft Parts to Fleet).
    <sp-tab-panel name="fleet-assignments">
      <div>
        <platform-component
        package-name="recordpage"
        name="RecordTemplate"
        template=" {{ '{% if UID %}
        <platform-eventbus-scope closed>
        <platform-component package-name="listview"
        name="RelatedListView"
        resource-name="fleet"
        foreign-key="aircraftId"
        foreign-key-value="{{UID}}">
        </platform-component>
        </platform-eventbus-scope>
        {% endif %}' }}" >
        </platform-component>
      </div>
    </sp-tab-panel>
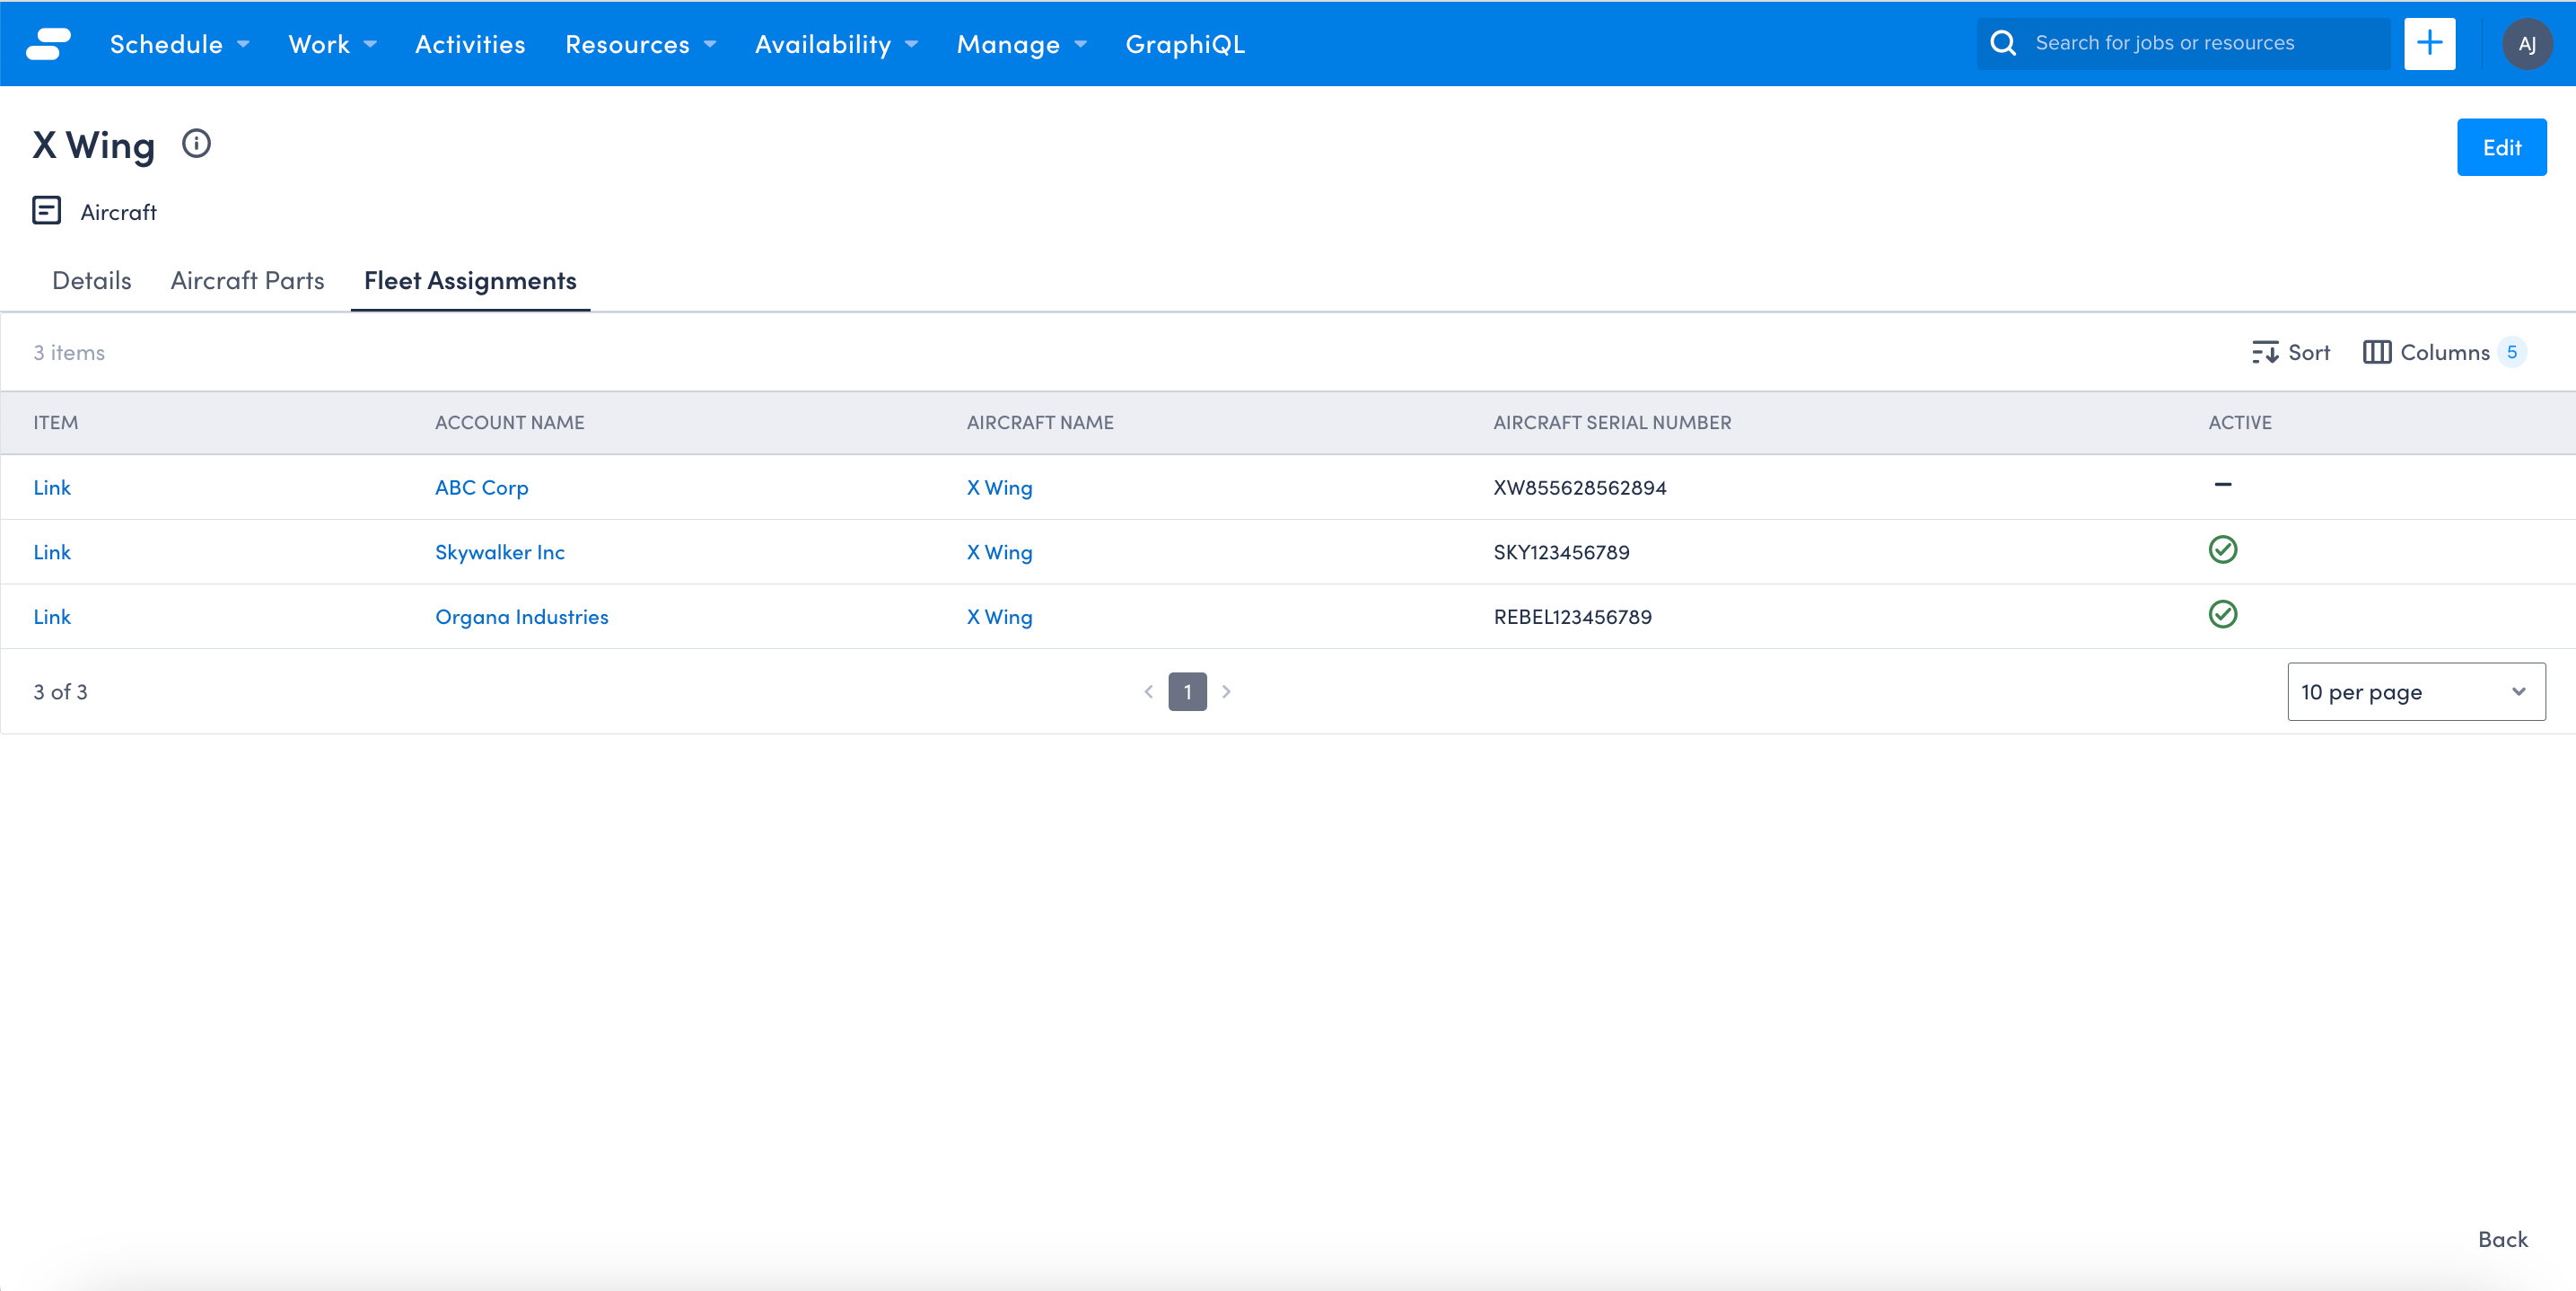
A few more tweaks to this list view includes having the Is Active field look a bit more colourful, and adding hyperlinks for both the account and the aircraft, which leaves me with a page view that Rey would be proud of!
The full code for my View page is visible here:
    {% extends "base-recordview" %}
    {% set resource_name="aircraft" %}
    {% block header %}
    <sp-split-row>
        <div slot="left">
      <sp-header style="margin-bottom: 0">
        <sp-column>
          <sp-heading size="2xl" level="1">
              {% block title %}
                  <platform-component package-name="recordpage" name="RecordDefiner"></platform-component>
              {% endblock title %}
          </sp-heading>
            <sp-row style="--sp-row-spacing: var(--sp-spacing-3);">
              <sp-icon icon="details"></sp-icon>
              <span>Aircraft </span>
          </sp-row>
        </sp-column>
         </sp-header>
        </div>
        <div slot="right" style="text-align: right;">
            <sp-header style="margin-bottom: 0">
            <sp-heading>
        <platform-component package-name="recordpage" name="RecordTemplate" template="{{ '<a href="/platform/page/aircraft-edit?uid={{UID}}"> <sp-button>Edit</sp-button>' }}"></platform-component>
        </sp-heading>
          </sp-header>
        </div>
      </sp-split-row>
    {% endblock header %}

    {% block body %}
    <sp-tabs selected="{{_.queryParams.selectedtab}}">
      <platform-component package-name="nav" name="ReflectiveTabs" search-param="selectedtab"
      tabs="{{  [
                  {"name":"details","label":"Details"},
                  {"name":"aircraft-parts","label":"Aircraft Parts"},
                  {"name":"fleet-assignments","label":"Fleet Assignments"}
                ]   |dump}}">
       </platform-component>
        <sp-tab-panel name="details" shown>
          <sp-responsive-columns>
          <div>
            <sp-heading size="base" style="margin-bottom: var(--sp-spacing-4)">Description</sp-heading>
         <sp-record-row>
        <span slot="label">Hyperspace</span>
        <platform-component package-name="recordpage" name="RecordFieldView" field-name="Hyperspace"></platform-component>
      </sp-record-row>
      <sp-record-row>
        <span slot="label"># of Seats</span>
        <platform-component package-name="recordpage" name="RecordFieldView" field-name="Seats"></platform-component>
      </sp-record-row>
         <sp-record-row>
        <span slot="label">Release Date</span>
        <platform-component package-name="recordpage" name="RecordFieldView" field-name="ReleaseDate"></platform-component>
      </sp-record-row>
      <sp-record-row>
        <span slot="label">Last Service Date</span>
        <platform-component package-name="recordpage" name="RecordFieldView" field-name="LastService"></platform-component>
      </sp-record-row>
        </div>
      <div>
         <sp-record-row>
         <span slot="label">Branding</span>
            <platform-component package-name="recordpage" name="RecordTemplate"
                                template="{{ '{% if Branding == "Rebellion" %}
    <img src="https://starwarsblog.starwars.com/wp-content/uploads/2015/11/rebel-symbol-536x536.jpg" alt="Rebellion" width="100" height="100">
    {% else %}
    <img src="https://starwarsblog.starwars.com/wp-content/uploads/2016/02/imperialseal-536x536.jpg" alt="Empire" width="100" height="100">
    {% endif %}' }}"></platform-component>
        </sp-record-row>
        <sp-record-row>
          <span slot="label">Image</span>
          <platform-component package-name="recordpage" name="RecordTemplate" template="{{ '<img src="{{Image}}" alt="{{name}}" width="200" height="200">' }}"></platform-component>
        </sp-record-row>
      </div>
      </sp-responsive-columns>
      </sp-tab-panel>

        <sp-tab-panel name="aircraft-parts">
     <sp-split-row>
          <div slot = "right" style="text-align: right;">
            <sp-header style="margin-bottom: 0">
              <platform-component package-name="recordpage" name="RecordTemplate" template="{{ '<a href="/platform/page/aircraft-parts-create"> <sp-button button-type="secondary">Add Part</sp-button>' }}"></platform-component>
            </sp-header>
          </div>
        </sp-split-row>

        <div style="padding-top: var(--sp-spacing-4)">
          <platform-component
            package-name="recordpage"
            name="RecordTemplate"
            template= " {{ '{% if UID %}
                  <platform-eventbus-scope closed>
                    <platform-component package-name="listview"
                     name="RelatedListView"
                     resource-name="aircraft Parts"
                     foreign-key="AircraftId"
                     foreign-key-value="{{UID}}">
                    </platform-component>
                  </platform-eventbus-scope>
                  {% endif %}' }} " >
          </platform-component>
          </div>
        </sp-tab-panel>

           <sp-tab-panel name="fleet-assignments">
            <sp-split-row>
          <div slot = "right" style="text-align: right;">
            <sp-header style="margin-bottom: 0">
              <platform-component package-name="recordpage" name="RecordTemplate" template="{{ '<a href="/platform/page/fleet-create"> <sp-button button-type="secondary">Add Fleet Assignment</sp-button>' }}"></platform-component>
            </sp-header>
          </div>
        </sp-split-row>
                <platform-component
            package-name="recordpage"
            name="RecordTemplate"
            template=" {{ '{% if UID %}
                  <platform-eventbus-scope closed>
                    <platform-component package-name="listview"
                     name="RelatedListView"
                     resource-name="fleet"
                     foreign-key="AircraftId"
                     foreign-key-value="{{UID}}">
                    </platform-component>
                  </platform-eventbus-scope>
                  {% endif %}' }}" >
          </platform-component>
             </div>
        </sp-tab-panel>
      </sp-tabs>

    {% endblock body %}
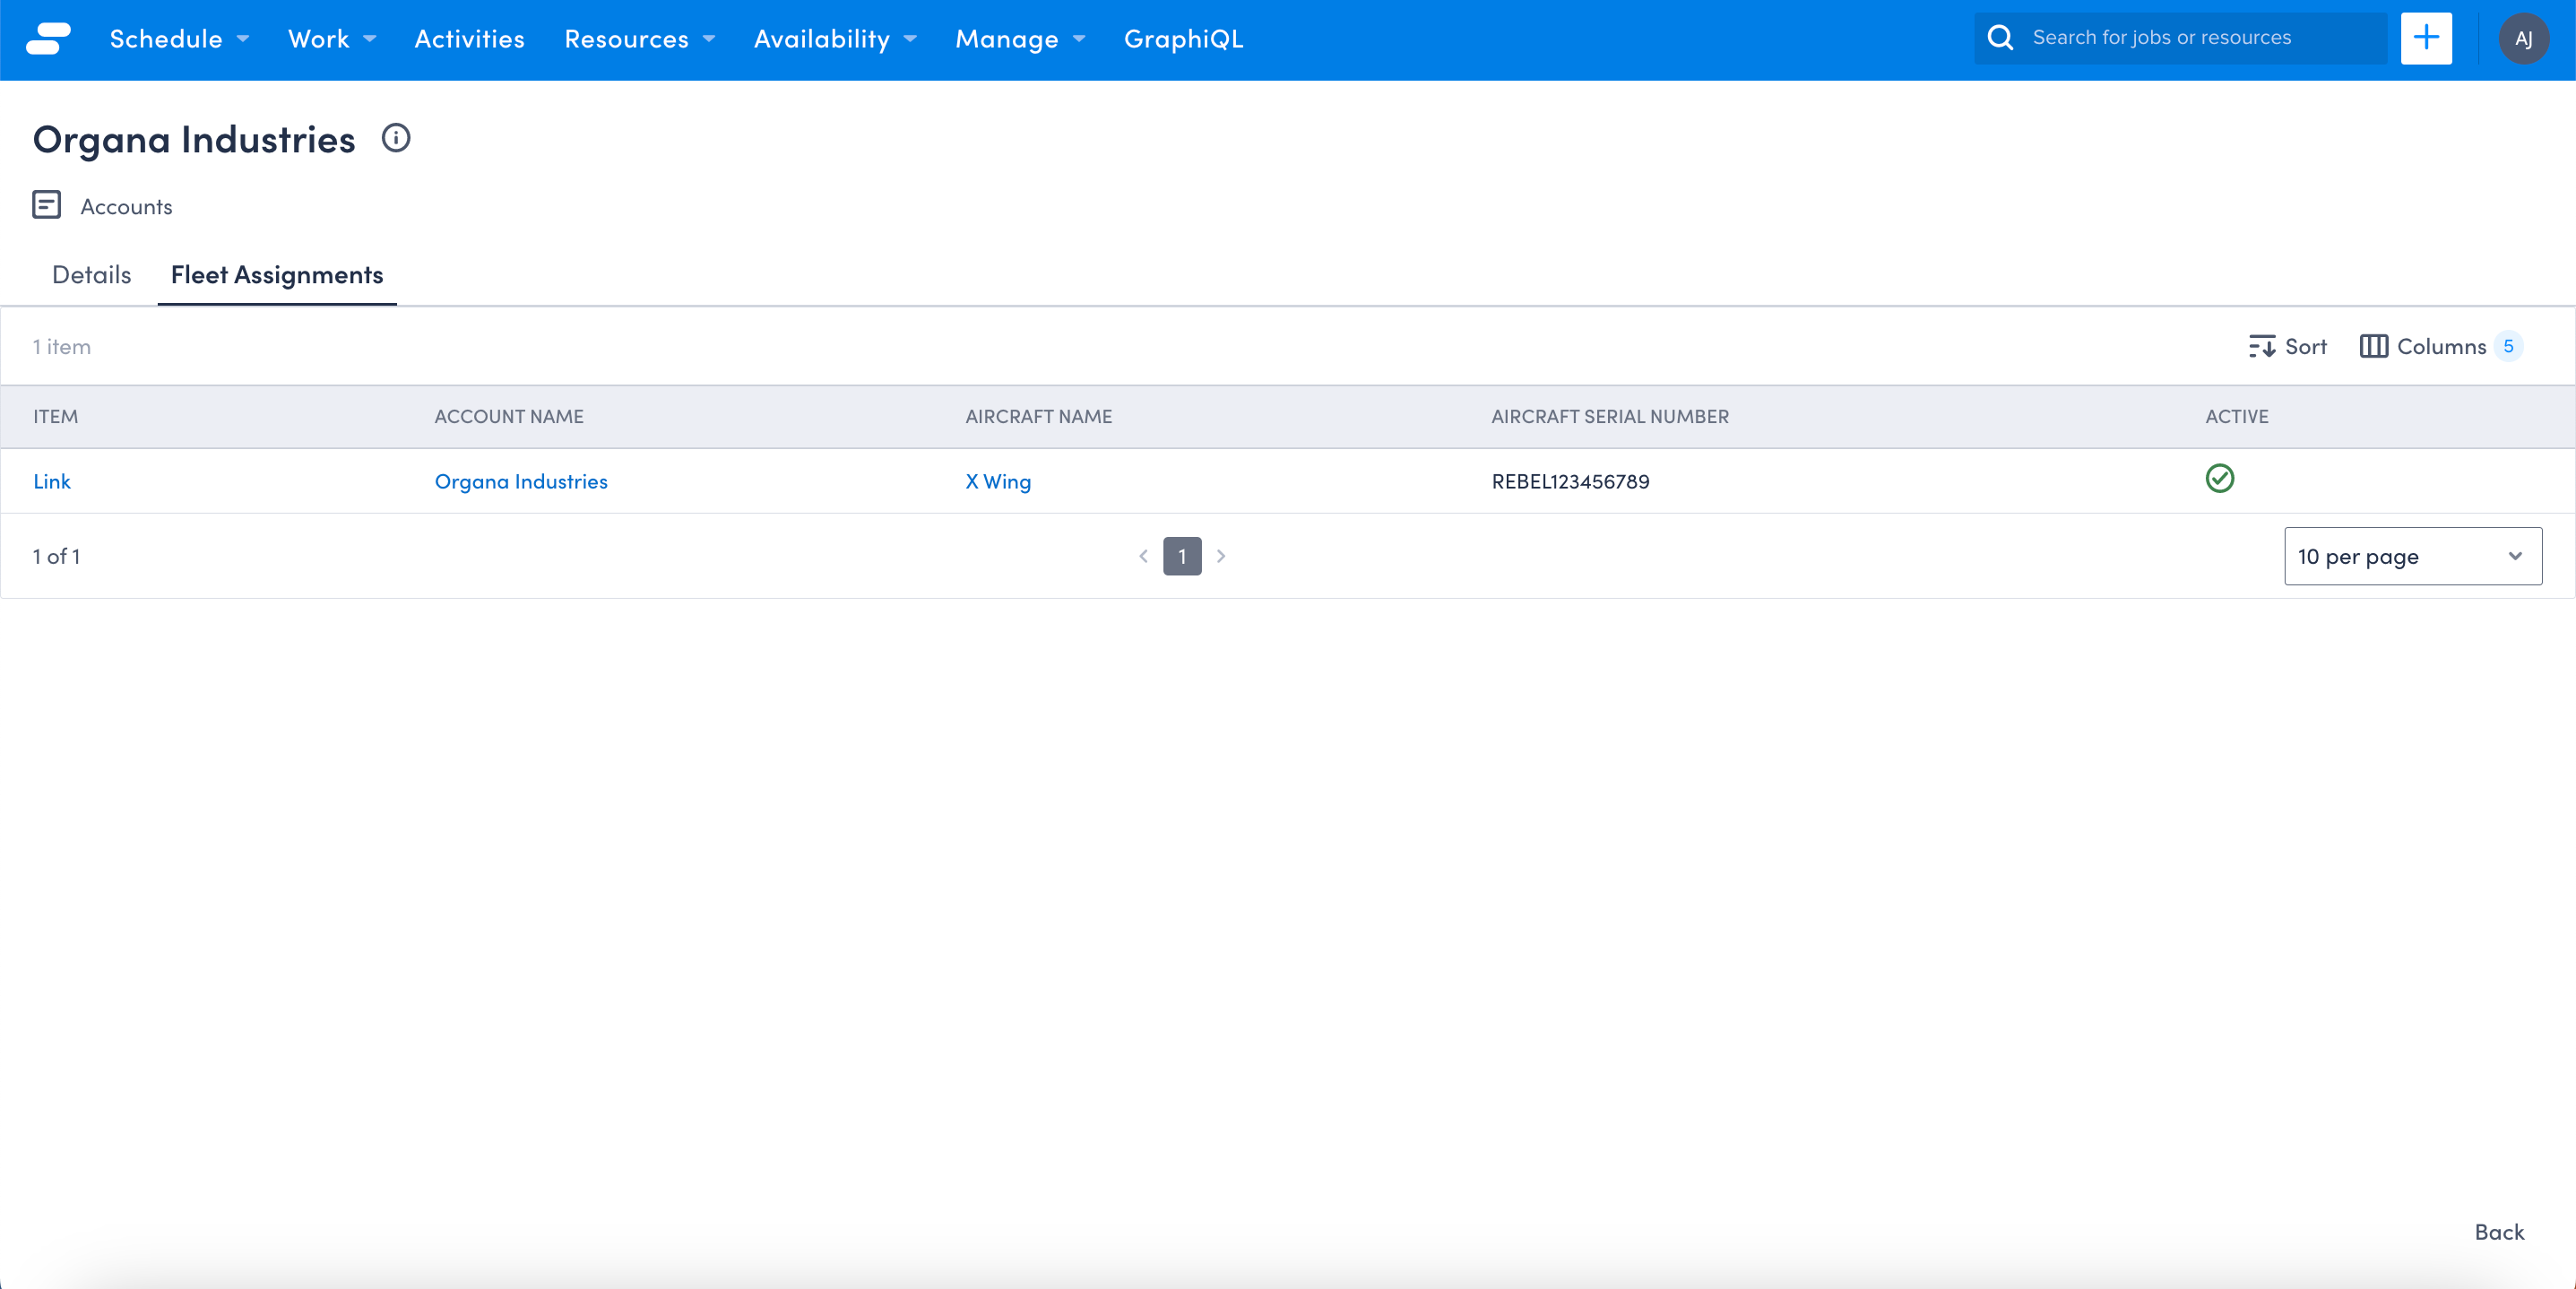
Adding the related data to the Account page is a matter of repeating the above steps on your Account View page — this lets your users see which aircraft each of your customers have.
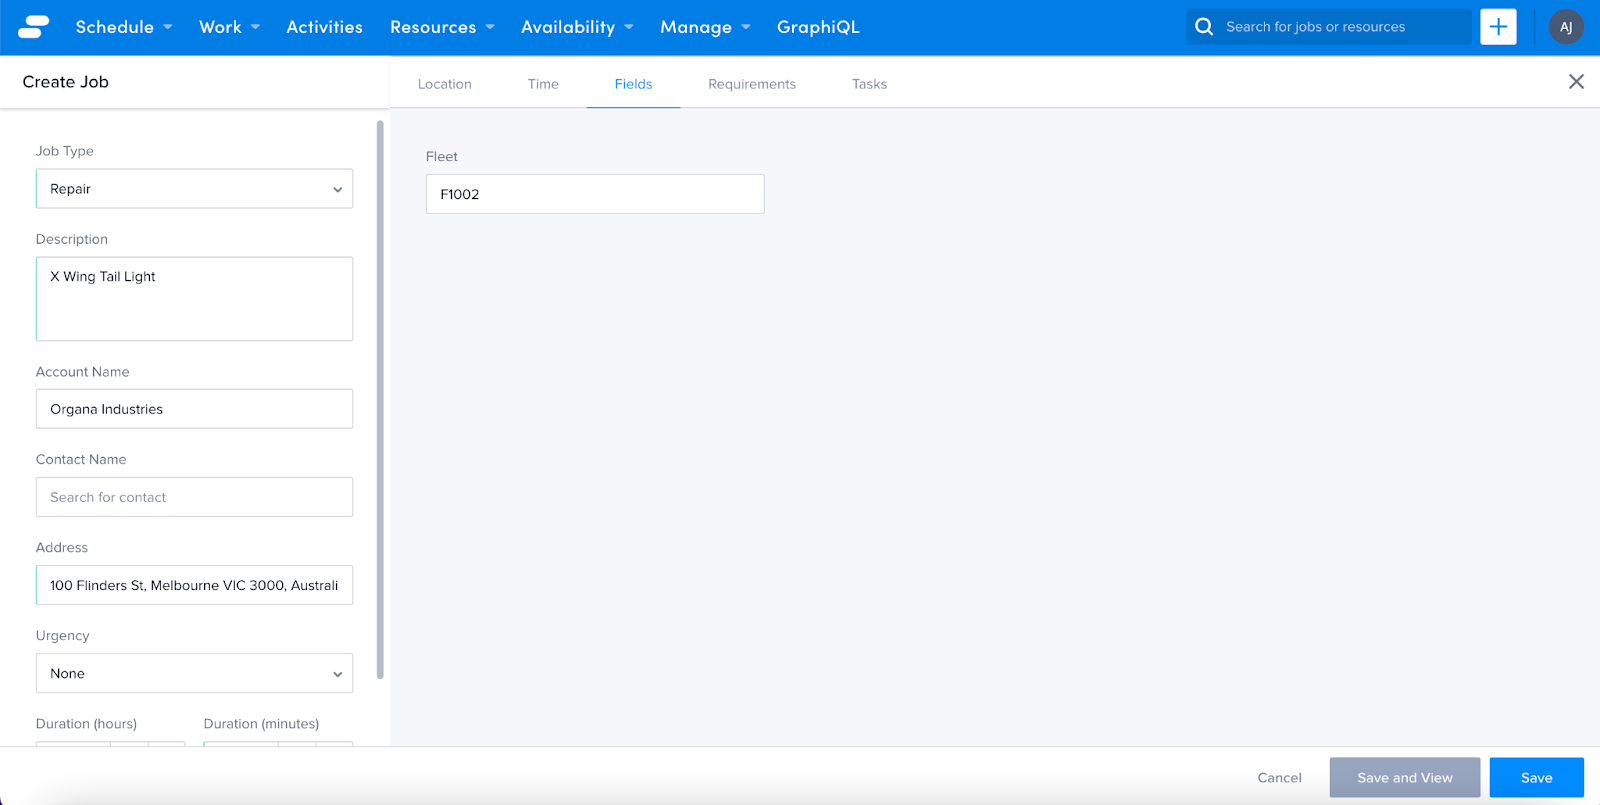
Your Job page will already have the lookup to the Fleet listed in the Fields tab, so there is no update required there!
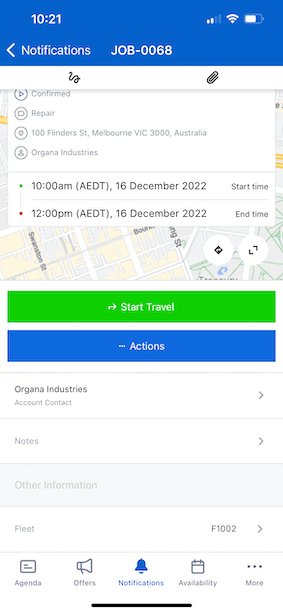
Now your workers can see which specific vehicle they should be servicing when they’re using their trusty device out in the field!
Join us here at Low Code Corner next time when we add some filters to our fancy new tabs! And as always, if you have questions, reach out to us via the comments below or on Twitter @SkeduloDevs.