Episode #1 - Mastering low code app development with the Skedulo Pulse Platform — Object Creation

You’ve been using Skedulo for a while, and it is fab-u-lous! However, your team wants to see some more information when they’re doing their work. Let’s imagine your team services all of the aircraft of the galaxy, both near and far, far away. Your scheduling team knows which companies have which aircraft, and how many of them they have. Your workers need to know which aircraft they’re off to service, and what parts of the aircraft they need to swap out to get their customers back in the air.
Why is it so important to be able to offer additional information? Imagine you are a deskless worker, running around all over the galaxy fixing aircraft. Each time you reach for your trusty Skedulo app on your device, you click into a Job to see where you’re going, who you’re meeting, and what needs to be done.
If you had to load up the schematics of all the aircraft, you’d be scrolling like the opening credits of a space-saga. Surely, it would be better to be able to click through and see the exact aircraft that needs fixing on each particular Job, as well as a list of the exact parts that could need replacing.
On our intrepid journey to mastering low code app development on the Skedulo Pulse Platform, we’ll tackle the following topics:
- Episode 1: Creating new objects (this is us, right now)
- Going Rogue: Adding fields via the API
- Episode 2: Updating the standard View and Edit pages for the object, and adjusting the list views
- Episode 3: Editing records from your list views
- Episode 4: Adding fancy images to make your pages pop
- Episode 5: Adding relationships to other objects (allowing you to make associations with other records)
- Episode 6: Display related data on your pages using Tabs
- Episode 7: Using filters on your new Tabs
- Episode 8: Pre-populating data when users are creating records (Let’s make lives easier where we can, shall we?)
- Episode 9: Configuring page redirects after creating or editing records.
Creating your object
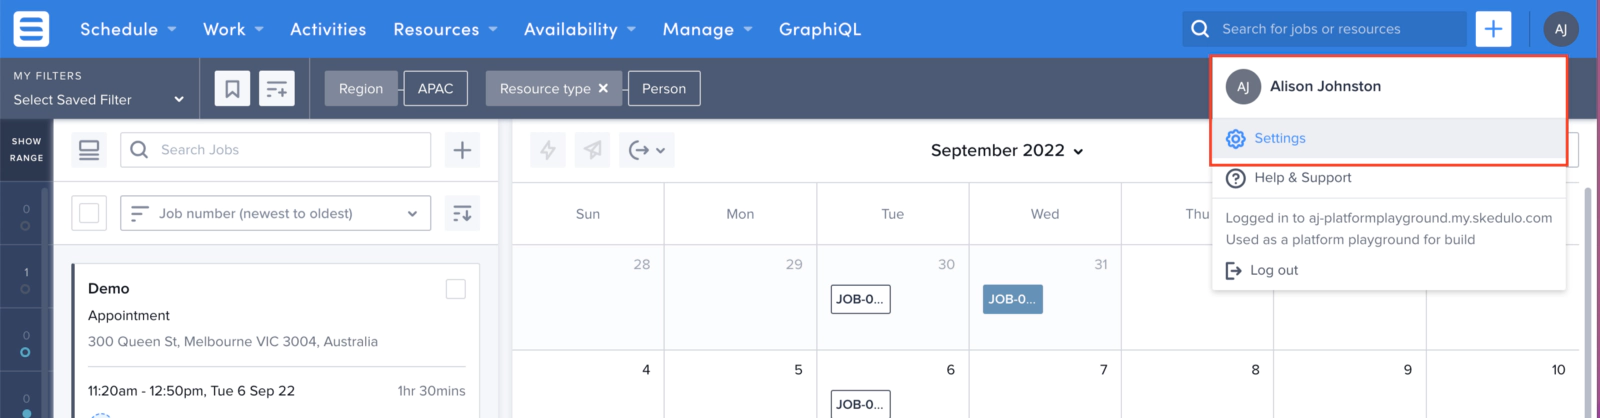
The first step to being able to store additional data is to create a new custom object. In this case, you’re going to create an Aircraft object in order to allow you to record the details of your aircrafts. To do this, simply go to the Settings section of your Skedulo tenant.
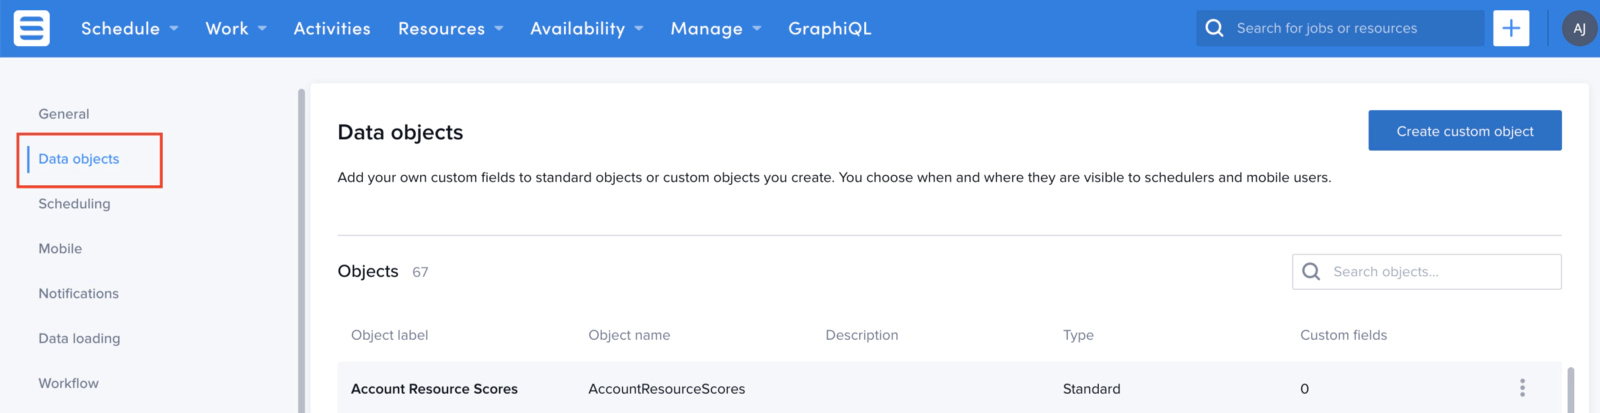
From here you want to go to your Data objects, and then click Create custom object.
You can give your object any name you want, and then create as many fields as you want or need (within reason — no one wants to have to fill in 800 fields…).
For the purposes of this example, enter the following:
- Object label:
Aircraft - Object name:
aircraft - Object description:
Used to store details of the aircraft serviced
*The object name needs to have no spaces, underscores, or special characters as this is used by the API to do other fancy stuff.

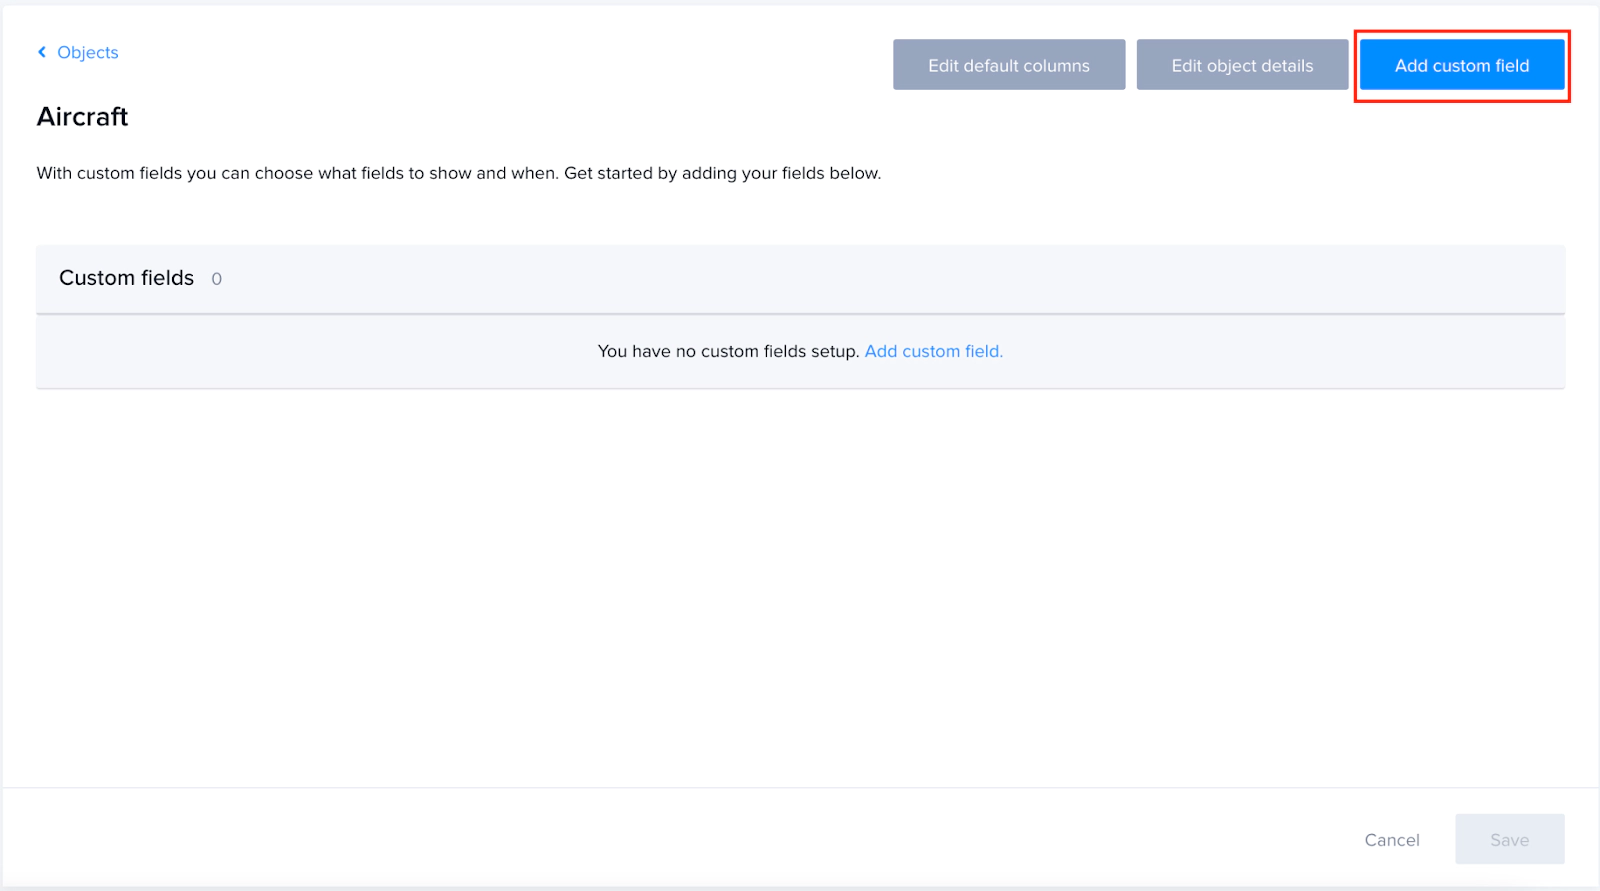
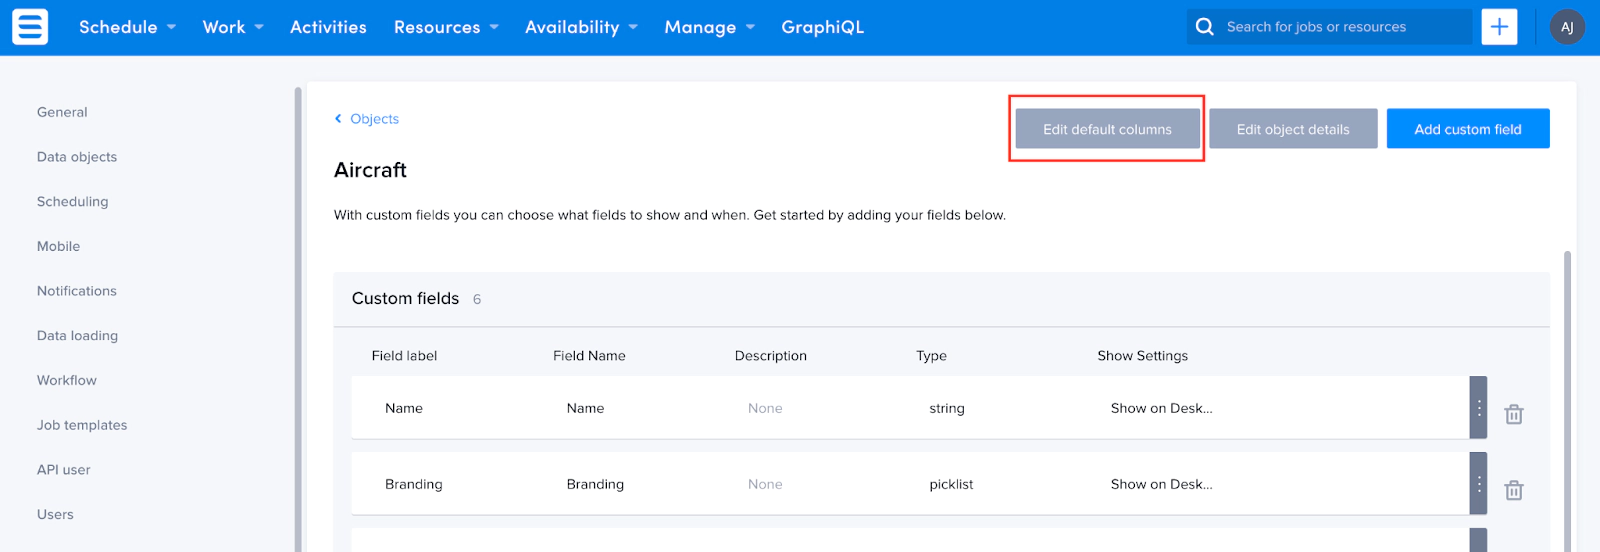
When you want to add fields to your object, click on the Add custom field button on your newly created object.

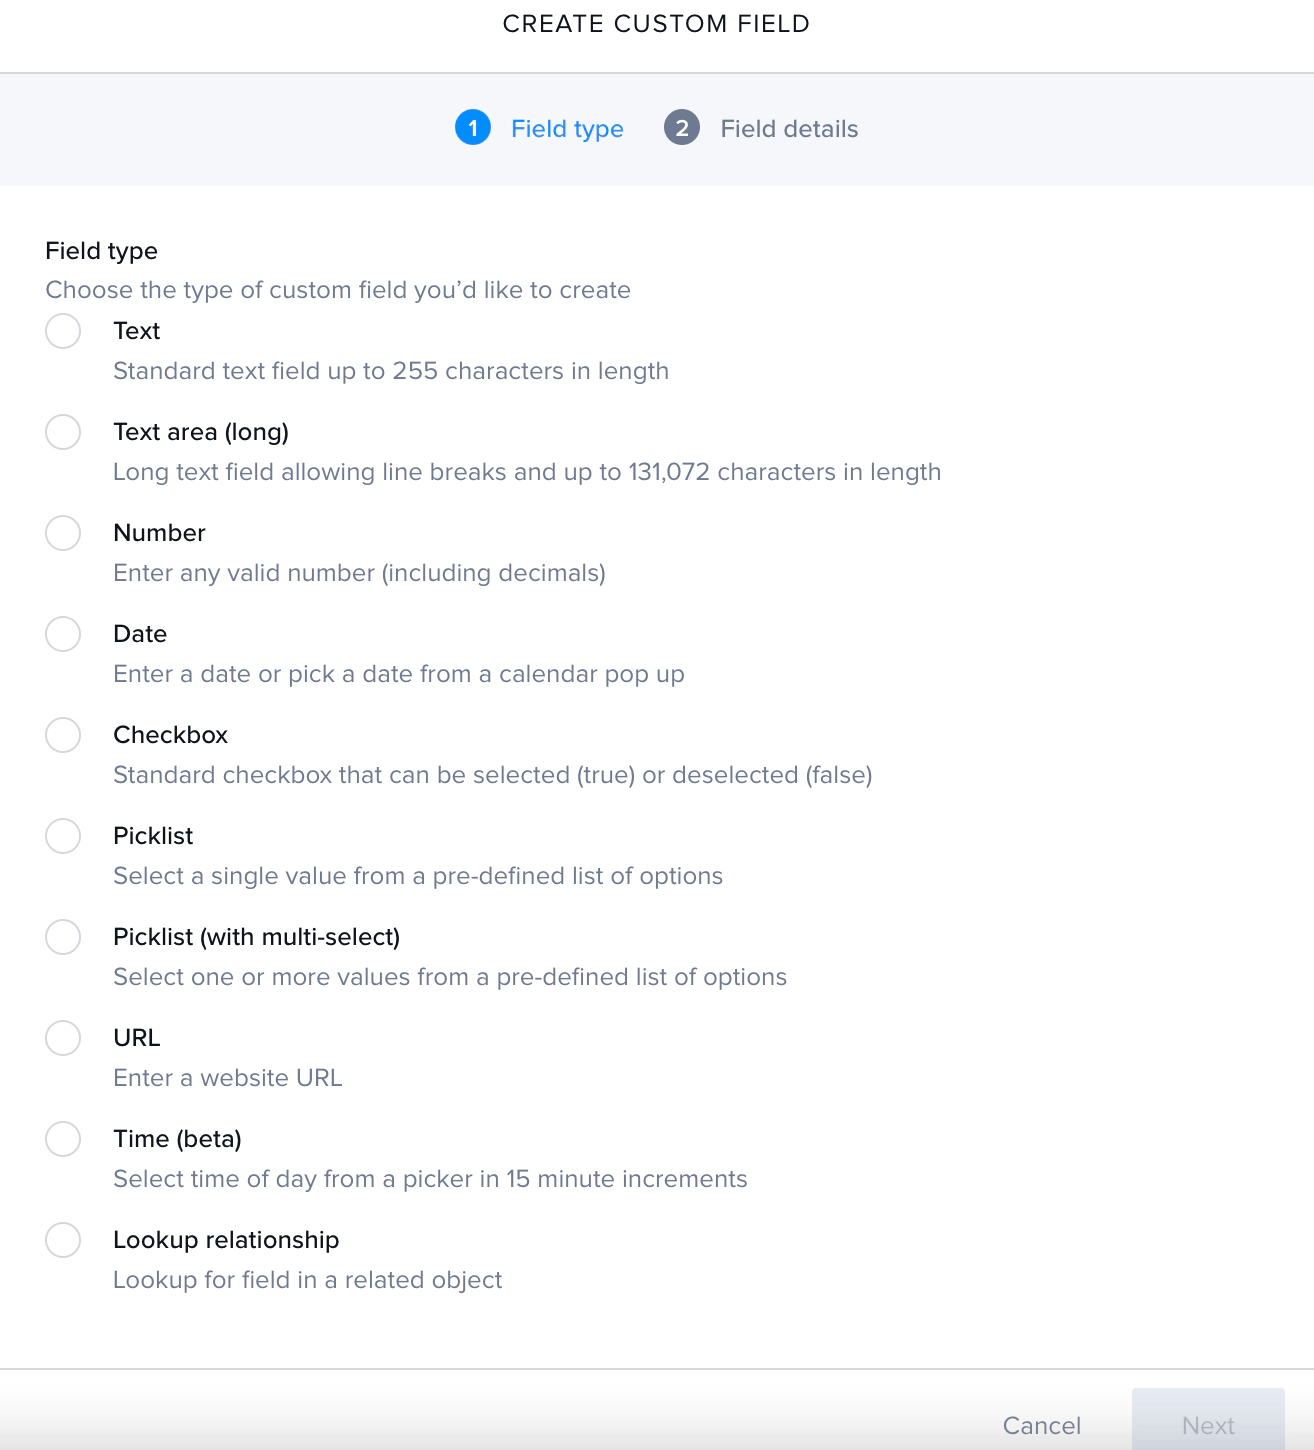
Think about the kind of data you want to capture in this field. You have options galore, as you can see. Our trusty Support site details what each field type does and is here.
For your object you might want the name, number of seats, the brand, and whether Hyperdrive can be enabled. Because I like pictures, I also want to display the image of the aircraft, using a URL (we’ll talk about how this works more in Episode 4). Below is the list of fields I created, including their types for the aircraft object
| Field Name | Field Label | Field Type |
|---|---|---|
| Name | Name | Text |
| Branding | Branding | Picklist |
| Hyperspace | Hyperspace | Checkbox |
| Seats | # Seats | Number |
| ReleaseDate | Release Date | Date |
| Image | ImageName | URL |
One field type you might want that is not on the list is a combined date and time. This field type is available in Skedulo however currently these fields need to be created through the API. We cover this off in a separate post here, or you could ask one of your friendly developers if you’re lucky enough to have one in house.
Now you’ve got your shiny new object! Yay! Galaxy domination is one step closer!
Things to ponder
When you’re creating your objects, think about ways that you can reduce the number of times you need to enter data. For me there is a secret joy in streamlining processes and data capture for my users. In my example, I’m not relating the Aircraft specifically to an account, or even a Job.
The reason for this is that the Aircraft record will store only the information about the vehicle itself. We will create other junction objects to link these aircraft to accounts and jobs. This will mean that any update to the Aircraft object will then reflect at both the account and job records without needing to update all the records.
For example, if I created a X Wing fighter for the Organa account, and a X Wing fighter for the Skywalker account in the Aircraft object, every change to an X Wing fighter would have to be done twice. By simply creating the X Wing fighter as the aircraft and then joining it to multiple accounts, you can update once and move on to your next Jedi trick.
Once you’ve created your shiny new object and recorded some data, you may want to update the columns that appear when you look at a list view. This can be done by clicking on the Edit default columns button. For a more detailed explanation of just how beautiful you can make this, see the post here.

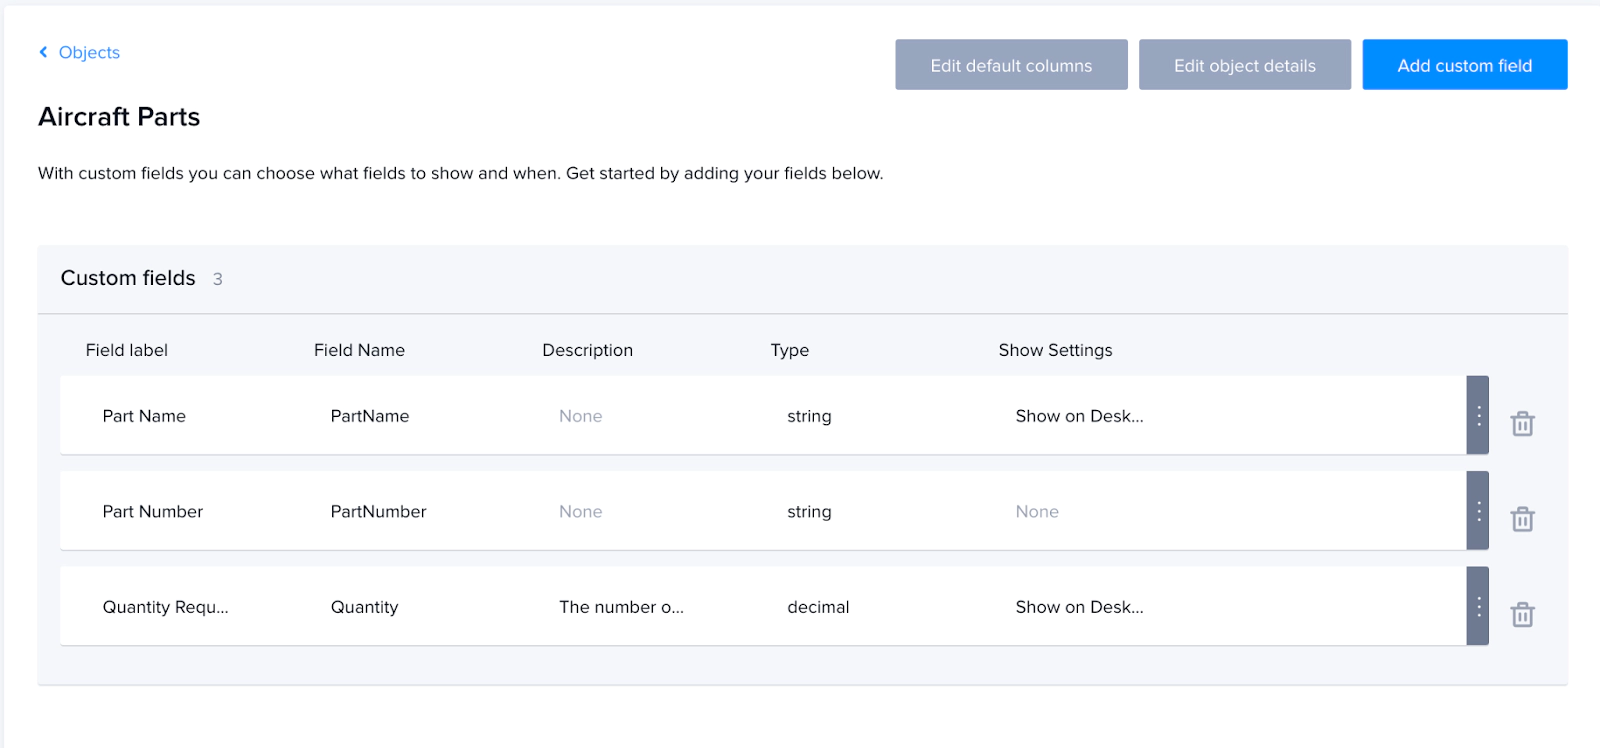
There are probably a number of other objects you want to tackle, so it’s rinse and repeat to get the objects you and your business need. If you’re following along with this example, you need to create a Parts object (to store the parts of each aircraft)
as well as a Fleet object (to store the exact aircraft each customer has).
Join us here at Low Code Corner next time when we dive into how to update the pages for our aircraft. And as always, if you have questions, reach out to us via the comments below or on Twitter @SkeduloDevs
References
- Skedulo Data Objects
- Skedulo Custom Fields